How to Grow Shasta Daisy Seeds: A Comprehensive Guide
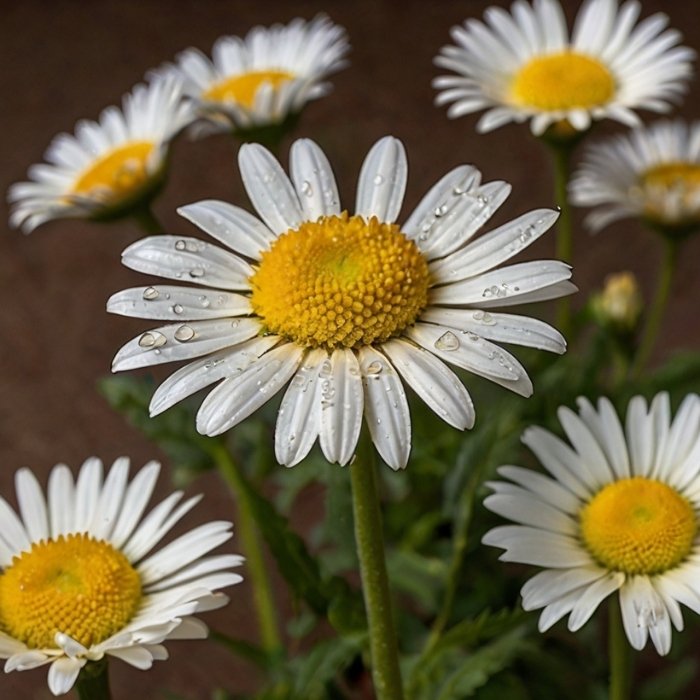
Shasta daisies are an iconic garden flower known for their bright white petals and sunny yellow centers. Their elegance and simplicity make them a favorite among gardeners. Cultivating Shasta daisy seeds allows for a cost-effective way to bring beauty to your outdoor space while ensuring a sustainable garden. In this article, we delve deep into the process of growing Shasta daisy seeds, offering expert tips to help your garden thrive.
Understanding Shasta Daisy Seeds
What Are Shasta Daisy Seeds?
Shasta daisies (Leucanthemum x superbum) are hardy perennials that belong to the Asteraceae family. Their seeds are small, elongated, and brownish, designed for easy sowing. These daisies are loved for their resilience, blooming through the summer months and adding vibrant color to gardens.
Benefits of Growing Shasta Daisies from Seeds
- Cost-Effective: Seeds are significantly cheaper than purchasing mature plants.
- Sustainable Gardening: Growing from seeds reduces the carbon footprint associated with transporting potted plants.
- Customization: You can select specific cultivars that suit your garden style and climate.
How to Choose Quality Shasta Daisy Seeds
Where to Buy Seeds
To ensure success, source your seeds from reputable suppliers. Look for organic, non-GMO seeds that have high germination rates. Popular options include local nurseries, gardening stores, or online retailers specializing in wildflower and perennial seeds.
Inspecting Seed Quality
Before planting, examine the seeds to ensure they are free of mold or discoloration. Properly stored seeds in sealed packets or cool environments will yield better results.
Preparing for Planting
Ideal Growing Conditions
Shasta daisies thrive in USDA zones 4-9. Ensure the following conditions for optimal growth:
- Soil: Well-drained, slightly acidic to neutral soil with a pH between 6.0 and 7.0.
- Light: Full sunlight for at least 6-8 hours daily. Partial shade is acceptable but may reduce flowering.
- Temperature: Seeds germinate best in temperatures between 65°F and 75°F (18°C to 24°C).
Tools and Supplies Needed
- Seed tray or small pots
- Potting mix (preferably a mix for perennials)
- Spray bottle or watering can with a fine nozzle
- Garden trowel
- Mulch or compost
Step-by-Step Guide to Planting Shasta Daisy Seeds
1. Preparing the Soil
Loosen the top 2-3 inches of soil in your garden bed. If planting in pots, use a high-quality potting mix. Enrich the soil with compost or organic matter to improve nutrient content.
2. Sowing the Seeds
- Sprinkle the seeds evenly over the prepared soil.
- Lightly press them into the soil without burying them too deep; Shasta daisy seeds require light to germinate.
- Maintain a spacing of at least 12-18 inches between seeds to accommodate mature plant growth.
3. Watering and Moisture
- Use a spray bottle to mist the soil gently, ensuring it remains evenly moist but not soggy.
- Water regularly, especially during dry spells, but avoid overwatering, as it can lead to root rot.
4. Germination Period
Shasta daisy seeds typically germinate within 14-21 days. During this time, maintain consistent moisture and avoid disturbing the soil.
Caring for Shasta Daisy Seedlings
1. Transplanting Seedlings
Once the seedlings are 2-3 inches tall and have developed at least two sets of true leaves, they are ready to be transplanted. Ensure you harden them off by gradually exposing them to outdoor conditions over a week.
2. Fertilization
Apply a balanced, slow-release fertilizer once seedlings are established. Avoid over-fertilizing, as this can promote excessive foliage growth at the expense of blooms.
3. Pruning and Maintenance
Deadhead spent flowers to encourage continuous blooming. Trim back the plants in late fall to prepare them for dormancy.
Common Challenges and Solutions
1. Pests
Aphids, slugs, and snails may target young plants. Use organic pesticides or introduce natural predators like ladybugs.
2. Diseases
Fungal issues such as powdery mildew can occur in humid conditions. Improve air circulation and avoid overhead watering to reduce the risk.
3. Poor Blooming
If your Shasta daisies aren’t blooming, check for excessive shade, over-fertilization, or overcrowding. Addressing these factors can restore vibrant flowering.
Companion Planting with Shasta Daisies
Shasta daisies pair well with other perennials such as coneflowers, black-eyed Susans, and lavender. These combinations not only enhance the visual appeal of your garden but also attract pollinators like bees and butterflies.
Harvesting and Saving Seeds
To collect seeds for future planting:
- Allow the flowers to dry on the plant after blooming.
- Once the seed heads are brown and dry, cut them off and gently shake out the seeds.
- Store the seeds in a cool, dry place in an airtight container for up to two years.
Conclusion
Growing Shasta daisies from seeds is an enriching experience that combines beauty and sustainability. By following these detailed steps, you can enjoy a garden full of stunning blooms year after year. Whether you’re a novice gardener or an experienced enthusiast, cultivating Shasta daisies is a rewarding endeavor.

