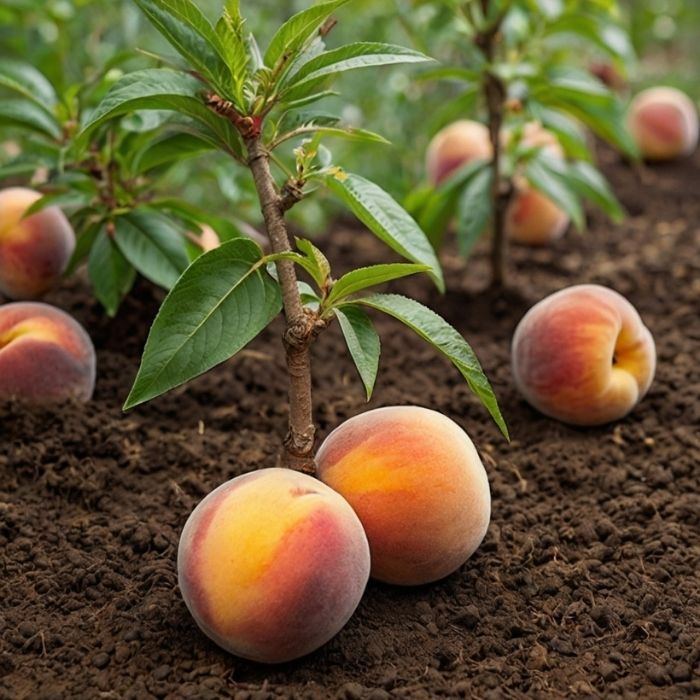
Planting Peach Seeds: A Comprehensive Guide
Growing a peach tree from seed is not only rewarding but also an opportunity to enjoy the process of nurturing life from its very beginning. By following a detailed approach, you can ensure the successful growth of a peach tree in your garden. In this guide, we will explain every essential step to help you achieve that goal Planting Peach Seeds.
Understanding Peach Seeds and Why Viability Matters
Before planting peach seeds, it is crucial to understand their nature and requirements. For instance, seeds need stratification to break dormancy, which mimics natural winter conditions. Additionally, choosing viable seeds is essential since seeds from hybrid varieties may not produce fruit resembling the parent plant. Therefore, to ensure better results, opt for seeds from non-hybrid or heirloom peaches.
Step 1: Collecting and Preparing Peach Seeds
- Choosing the Right Peach
Start by selecting ripe, high-quality peaches. Ideally, these should be locally sourced and free from blemishes. Furthermore, heirloom varieties are preferred as they maintain consistency in fruit quality. - Cleaning the Seed
After enjoying the fruit, clean the pit thoroughly by removing any remaining pulp. To make this easier, you can soak the pit in water for 24 hours. This ensures that the seed is free of any debris, which might otherwise hinder germination. - Cracking the Pit (Optional)
Although cracking the outer shell is not mandatory, doing so can speed up germination. If you decide to proceed this way, use a nutcracker or a small vice. However, take care to avoid damaging the inner seed.
Step 2: Stratification—Mimicking Winter Conditions
Peach seeds naturally require cold stratification to germinate. This step is vital because it triggers the growth process.
- Indoor Refrigeration
- Begin by wrapping the seed in a damp paper towel or placing it in moist peat moss or sand.
- Next, seal the material inside a plastic bag and store it in the refrigerator at 34–40°F (1–4°C).
- Periodically check the setup to ensure the medium remains moist and free from mold. Typically, stratification takes about 4 to 12 weeks.
- Outdoor Planting
Alternatively, if you prefer a natural method, plant the seed outdoors in the fall. As the seasons change, the natural winter cold will stratify the seed without requiring additional effort.
Step 3: Planting the Germinated Seed
Once the seed has sprouted, the next step is to plant it in the right environment. Proper planting ensures strong growth and healthy development.
- Choosing the Best Location
Peach trees thrive in full sun and well-drained soil. Therefore, pick a spot with at least 6–8 hours of direct sunlight daily. Additionally, ensure there is ample space for the tree to grow without competition from nearby plants. - Preparing the Soil
- Loosen the soil to a depth of 12–18 inches to promote root penetration.
- To enrich the soil, mix in organic matter like compost or aged manure. This not only improves fertility but also enhances water retention.
- Planting Technique
- Dig a hole twice as wide and deep as the seed.
- Place the germinated seed root-side down and cover it with soil.
- Finally, water the area thoroughly to help the soil settle.
Step 4: Caring for the Seedling
The initial care provided to a seedling often determines its future health. For this reason, consistency in watering, fertilizing, and protection is essential.
- Watering Regularly
Seedlings require consistent moisture to establish their roots. However, avoid overwatering, as this can lead to root rot. A good rule of thumb is to water deeply once or twice a week, depending on weather conditions. - Fertilization
To encourage robust growth, apply a balanced, slow-release fertilizer after the seedling establishes itself. Fertilize during the growing season, but stop once the tree enters dormancy in late fall. - Mulching for Protection
Apply a 2–3 inch layer of mulch around the base of the seedling. Mulch helps retain moisture, suppress weeds, and regulate soil temperature. - Pest and Disease Control
Keep an eye out for common peach pests like aphids and borers. Use organic remedies, such as neem oil or insecticidal soap, to control infestations effectively.
Step 5: Transplanting the Seedling
When the seedling grows to 6–12 inches in height, it is ready for transplantation. Transplanting is a critical step, as it establishes the tree in its permanent location.
- Timing the Transplant
Transplant the seedling during early spring or after the last frost. At this stage, the seedling is less vulnerable to extreme temperatures. - Transplanting Steps
- First, dig a hole large enough to accommodate the root ball.
- Next, gently place the seedling into the hole and backfill with soil.
- Water thoroughly to eliminate air pockets and help roots settle into the soil.
Step 6: Nurturing a Mature Peach Tree
Once your peach tree matures, ongoing care becomes essential to ensure long-term health and abundant fruit production.
- Pruning Regularly
Prune annually to remove dead or damaged branches. Additionally, pruning in late winter or early spring improves air circulation and encourages fruit development. - Consistent Watering
Mature trees require deep watering, especially during dry spells. However, be cautious not to overwater, as peach trees dislike overly wet soil. - Monitoring for Pests and Diseases
Common issues like fungal diseases can be mitigated by maintaining good airflow around the tree. Furthermore, consider organic or chemical treatments if pests become problematic. - Harvesting the Fruit
Peach trees begin bearing fruit 2–4 years after planting. Harvest peaches when they are slightly soft and emit a fragrant aroma.
Why Growing Peach Trees Is Worth It
Cultivating your own peach tree offers numerous benefits, including fresh, chemical-free fruit and the satisfaction of nurturing life. Furthermore, peach trees enhance the beauty of your garden, making them a valuable addition to any home

