Introduction to Mason Jar Hydroponics
Mason jar hydroponics is an innovative and accessible method for growing plants without soil. This technique allows you to cultivate herbs, vegetables, and even flowers in a compact space, making it ideal for urban dwellers or those with limited gardening experience. The simplicity of using a mason jar means that anyone can start their own hydroponic garden at home, often with materials they already have on hand. In this guide, we will explore the essentials of setting up a mason jar hydroponics system, the benefits it offers, and tips for successful plant growth.
What You Need for Your Mason Jar Hydroponics System
Creating a hydroponic system using mason jars requires a few essential supplies. Here’s a detailed list of what you will need:
1. Mason Jars
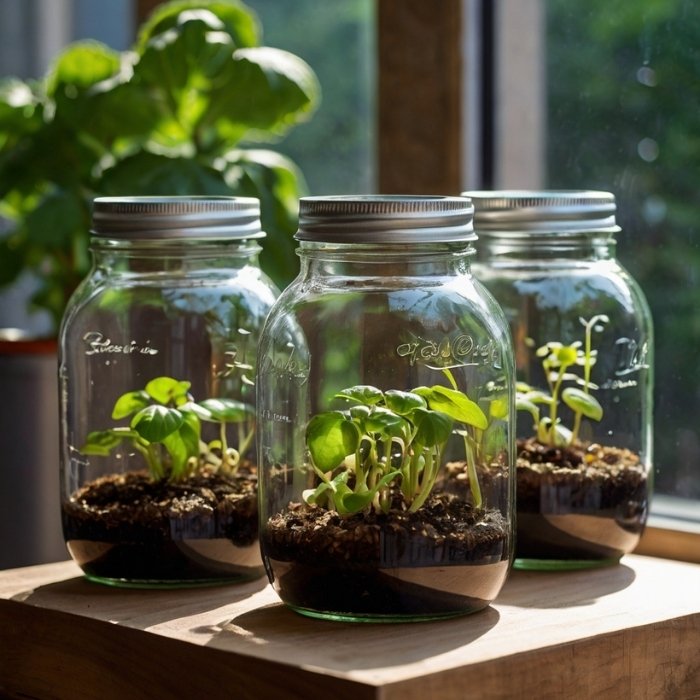
Quart-sized or half-gallon jars are ideal for this project. Their transparent nature allows you to observe root growth and nutrient levels easily.
2. Growing Medium
Options include clay pebbles, rockwool cubes, or expanded clay pellets. These mediums support the plants while allowing water and nutrients to flow freely.
3. Net Pots
Net pots are essential as they allow your plants to sit above the water while letting roots reach down into the nutrient solution. They provide stability and aeration for the roots.
4. Hydroponic Nutrients
These nutrients are crucial for providing the minerals that plants need to thrive. Look for a balanced nutrient solution designed specifically for hydroponics.
5. Seeds or Plant Cuttings
Herbs like basil, mint, cilantro, and lettuce are excellent choices for beginners due to their fast growth and low maintenance needs.
6. Light Blocker
To prevent algae growth, you can use black spray paint, duct tape, or fabric sleeves to cover your jars. This step is vital to maintain a healthy environment for your plants.
Setting Up Your Hydroponic System
Setting up your mason jar hydroponics system is straightforward and can be completed in just a few steps.
Step 1: Prepare Your Mason Jar
Start by cleaning your mason jar thoroughly to remove any residues from previous contents. If you’re using a clear jar, consider painting it black or covering it with tape to block light from entering. This step is crucial as light can promote algae growth in your hydroponic system.
Step 2: Add the Growing Medium
Place a layer of your chosen growing medium at the bottom of the jar. If you’re using clay pebbles, fill the jar about one-third full. This layer aids in drainage and provides support for your plants’ roots.
Step 3: Insert the Net Pot
Place the net pot on top of the growing medium. The bottom of the net pot should not be submerged in water; instead, it should rest just above it. This setup ensures that your plant roots can access water without becoming waterlogged.
Step 4: Plant Your Seeds or Cuttings
If you’re starting from seeds, place them in rockwool cubes and allow them to germinate until roots begin to extend out of the bottom. Once ready, transfer the cubes into the net pot filled with clay pebbles. For cuttings, simply insert them into the rockwool cube and follow similar steps.
Step 5: Fill with Nutrient Solution
Fill your mason jar with water until it reaches about one inch below the bottom of the net pot. Then, add hydroponic nutrients according to package instructions. This nutrient solution is vital for plant growth as it provides essential minerals.
Step 6: Provide Adequate Light
Place your mason jar in a location where it will receive plenty of sunlight—ideally six hours per day—or use grow lights if natural light is insufficient. Proper lighting is essential for photosynthesis and overall plant health.
Maintenance Tips for Your Hydroponic Garden
Maintaining your mason jar hydroponics system is straightforward:
Monitor Water Levels
Regularly check the water level in your jar and top it off as necessary to ensure that roots remain submerged but not overly saturated.
Nutrient Management
Every two weeks, refresh your nutrient solution by replacing it with fresh water mixed with nutrients. This practice helps prevent nutrient depletion and keeps your plants healthy.
Check pH Levels
Use a pH testing kit to ensure that the water remains within an optimal range (usually between 5.5 and 6.5) for plant growth. Adjusting pH levels may require adding pH up or down solutions available at gardening stores.
Watch for Pests
Although hydroponics reduces soil-borne pests, keep an eye out for any signs of insects or disease. If you notice any pests, consider using organic pest control methods such as neem oil or insecticidal soap.
Benefits of Using Mason Jar Hydroponics
Mason jar hydroponics offers numerous advantages that make it an appealing option for both novice and experienced gardeners:
Space Efficiency
This method is perfect for small living spaces or apartments where traditional gardening may not be feasible. You can easily set up multiple jars on windowsills or countertops.
Cost-Effective
Utilizing jars and materials you may already have keeps costs low compared to more complex hydroponic systems that require expensive equipment.
Cleanliness
No soil means less mess and easier cleanup. You won’t have to worry about dirt spilling or tracking soil into your home.
Educational Experience
Mason jar hydroponics provides an excellent opportunity to learn about plant biology and sustainable practices. It’s a fantastic project for families or classrooms looking to explore science in a hands-on way.
Troubleshooting Common Issues
Even with careful maintenance, you might encounter some common issues in your mason jar hydroponics system:
Algae Growth
If you notice algae forming in your jar, it’s likely due to excess light exposure or stagnant water conditions. Ensure that your jars are adequately covered and consider changing your water more frequently.
Wilting Plants
If your plants appear wilted or unhealthy, check the water level and nutrient concentration. Over-fertilization can lead to nutrient burn; therefore, always follow recommended guidelines when adding nutrients.
Root Rot
This condition occurs when roots are submerged in water without adequate oxygen supply. Ensure that your net pots are positioned correctly above the water line and consider increasing aeration if necessary.
Conclusion
Mason jar hydroponics is not only a fun DIY project but also a practical way to grow fresh herbs and vegetables at home. With minimal investment and effort, anyone can enjoy the benefits of home-grown produce year-round. Whether you’re looking to enhance your cooking with fresh herbs or simply want to engage in a rewarding hobby, this method is perfect for beginners and experienced gardeners alike.By following this guide, you can create a thriving hydroponic garden right on your kitchen counter or windowsill. Start your mason jar hydroponics journey today and watch as your plants flourish in this soil-free environment! This version expands on various aspects of mason jar hydroponics while ensuring clarity and engagement throughout the content!