How to Make a Garden Bed: The Ultimate Step-by-Step Guide
Creating a lush and productive garden starts with a well-prepared garden bed. Whether you’re a seasoned gardener or a beginner, following a comprehensive process ensures a healthy environment for your plants. In this guide, we provide detailed steps to help you craft the perfect garden bed for flowers, vegetables, or herbs.
Why a Well-Prepared Garden Bed Matters
A garden bed provides plants with the optimal conditions they need to thrive. Proper preparation improves soil health, promotes drainage, and ensures your garden is free from weeds and pests. By following the steps outlined below, you can create a garden bed that nurtures vibrant, healthy plants.
Step 1: Choose the Right Location
Factors to Consider When Selecting a Site
- Sunlight: Most plants require at least six to eight hours of direct sunlight daily. Observe your yard to identify areas that receive ample light.
- Drainage: Avoid areas where water pools after rain. Well-drained soil is critical to prevent root rot.
- Accessibility: Ensure the garden bed is easily accessible for planting, watering, and maintenance.

Step 2: Decide on the Type of Garden Bed
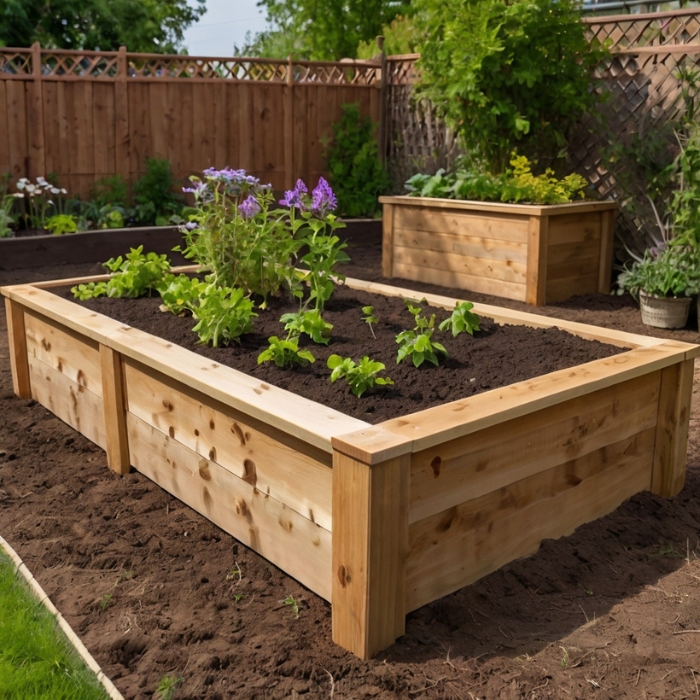
Raised Garden Beds
Raised beds are elevated structures that allow for better drainage and control over soil composition. They’re ideal for areas with poor soil or limited space.
In-Ground Garden Beds
In-ground beds utilize the existing soil and are cost-effective. They’re best for expansive gardens with good-quality soil.
Container Garden Beds
For those with limited outdoor space, container garden beds are an excellent choice. They are portable and work well for urban gardening.
Step 3: Plan and Measure the Garden Bed
Determine the Size
Consider the available space and the types of plants you intend to grow. For raised beds, a width of 3-4 feet allows easy access from both sides.
Sketch the Layout
Draw a simple plan to visualize the bed’s shape and size. Decide whether you prefer rectangular, circular, or irregularly shaped beds based on your landscape.
Step 4: Clear the Area
Remove Grass and Weeds
- Use a spade or sod cutter to remove grass and weeds.
- For persistent weeds, lay down a tarp for 2-3 weeks to block sunlight and weaken their growth.
Loosen the Soil
Turn over the top layer of soil using a garden fork or tiller to break up compacted areas. This step enhances aeration and root penetration.
Step 5: Improve Soil Quality
Test the Soil
Use a soil testing kit to measure pH levels and nutrient content. Most plants thrive in slightly acidic to neutral soil (pH 6.0-7.5).
Amend the Soil
- Add Compost: Enrich the soil with organic matter to boost fertility.
- Incorporate Mulch: Mulch improves moisture retention and prevents weed growth.
- Supplement Nutrients: Mix in specific fertilizers based on the results of your soil test.
Step 6: Construct the Garden Bed
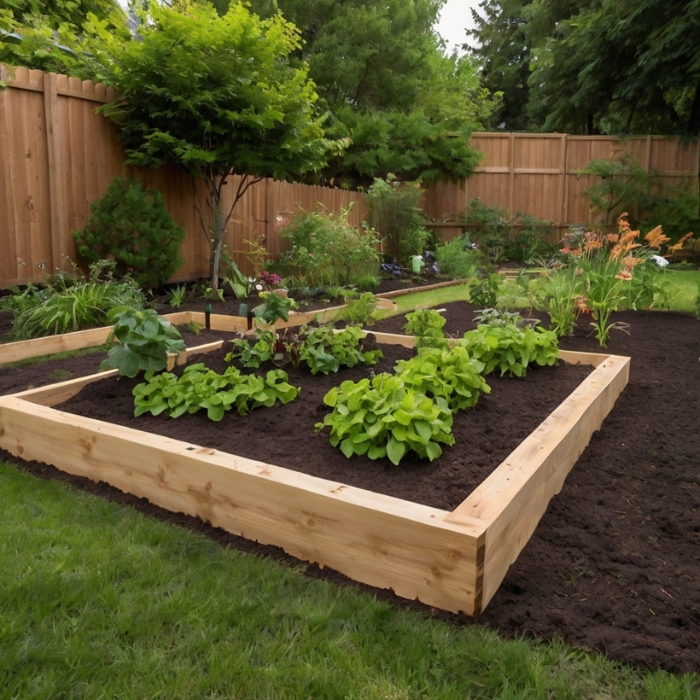
Build Edging for Raised Beds
- Use materials such as wood, stone, or metal to create durable borders.
- Ensure the edges are at least 6-12 inches high to provide ample space for roots.
Define Borders for In-Ground Beds
Use rocks or logs to demarcate the edges of your bed and prevent soil erosion.
Step 7: Prepare for Planting
Level the Soil
Use a rake to smooth out the surface and remove any debris. Level soil ensures even planting.
Install a Weed Barrier
Lay down landscaping fabric or cardboard to block weed growth. Cover it with a layer of soil or mulch.
Step 8: Plant Strategically
Choose the Right Plants
- Consider your climate zone and the plant’s sunlight, water, and space requirements.
- Opt for companion plants that support each other’s growth.
Spacing and Depth
Follow the planting guidelines on seed packets or plant labels. Proper spacing prevents overcrowding and promotes airflow.
Step 9: Water and Mulch
Water Thoroughly
- After planting, water the garden bed deeply to settle the soil.
- Maintain consistent moisture levels based on the plant’s needs.
Apply Mulch
Spread a 2-3 inch layer of mulch around the base of plants. This conserves water, regulates soil temperature, and reduces weeds.
Step 10: Maintain Your Garden Bed
Regular Care
- Remove weeds as they appear to prevent competition for nutrients.
- Check for pests and diseases, addressing issues promptly.
Seasonal Adjustments
- Add compost or organic matter yearly to maintain soil health.
- Rotate crops to prevent nutrient depletion and pest infestations.
Creating a thriving garden bed requires planning, effort, and ongoing care. With these detailed steps, you can cultivate a flourishing garden that enhances your outdoor space and provides an abundance of fresh produce or stunning blooms. Fall Garlic Planting Method for a Bountiful Summer Harvest

