Martha’s Method of Planting Garlic in the Fall for a Bountiful Summer Harvest
Planting garlic in the fall is a time-tested method for achieving a rich, flavorful, and plentiful summer harvest. Garlic, a versatile and health-boosting ingredient, thrives when given a head start before winter, allowing it to establish roots that will support a robust crop in the warmer months. Martha’s proven method for planting garlic provides a step-by-step approach to ensure maximum yield and quality. Follow this detailed guide to successfully plant garlic in the fall and enjoy a generous garlic harvest in summer.
Why Plant Garlic in the Fall?
Garlic planted in the fall benefits from the cold winter temperatures, which help it develop stronger bulbs. By planting before the ground freezes, the garlic cloves establish roots but remain dormant during winter. This dormant period strengthens the garlic, which then grows rapidly as temperatures rise in spring. Fall-planted garlic tends to produce larger, more flavorful bulbs compared to spring-planted garlic.

Choosing the Right Garlic Varieties
Hardneck vs. Softneck Garlic
Garlic comes in two main varieties: hardneck and softneck. Each type has unique qualities that suit different growing conditions:
- Hardneck Garlic: Known for its complex flavors, hardneck garlic has a central stalk (or “scape”) and typically performs well in colder climates. This variety also produces larger cloves but generally has a shorter shelf life than softneck garlic.
- Softneck Garlic: Softneck garlic has more cloves per bulb, a milder flavor, and can be stored for a longer time. Softneck varieties thrive in warmer climates, making them suitable for regions with mild winters.
When selecting garlic for fall planting, consider your local climate, desired flavor, and storage needs to determine the best variety for your garden.
Preparing the Soil for Garlic Planting
Healthy soil is the foundation of a successful garlic harvest. Garlic grows best in well-drained, loamy soil rich in organic matter. Here’s how to prepare the soil for optimal growth:
- Test the Soil pH: Garlic prefers a slightly acidic to neutral pH, between 6.0 and 7.0. Use a soil testing kit to check the pH level, and amend the soil if necessary.
- Add Organic Matter: Incorporate compost or aged manure into the soil to improve fertility. Organic matter enhances drainage, retains moisture, and supports microbial life, all essential for garlic growth.
- Loosen the Soil: Garlic needs room for root expansion, so loosen the soil to a depth of at least 10-12 inches. This encourages bulb development and allows the garlic to access nutrients more easily.
- Add Fertilizers: Garlic is a heavy feeder. Before planting, mix in a balanced fertilizer or a fertilizer high in phosphorus and potassium to support root development and bulb growth.
Preparing Garlic Cloves for Planting
Selecting and Breaking Apart Bulbs
Choose fresh, disease-free bulbs for planting. Separate each bulb into individual cloves, taking care not to damage the papery skin around each clove, as this protects against disease and pests. Use the largest cloves for planting, as they tend to produce the most vigorous plants.
Soak Cloves Before Planting (Optional)
Some gardeners soak garlic cloves in a mild solution of baking soda and water for 15-30 minutes before planting. This practice can help prevent fungal infections and give the cloves a head start. After soaking, dry the cloves on a paper towel before planting.
When and How to Plant Garlic in the Fall
Timing the Planting
The ideal time to plant garlic is approximately 4-6 weeks before the ground freezes. This timing allows garlic to establish roots but keeps it dormant during the winter months. In most regions, late September to early November is the optimal planting window.
Planting Depth and Spacing
- Dig Planting Holes: Plant each clove about 2-3 inches deep with the pointed end facing up. This positioning ensures that the sprout grows upward and roots anchor the clove in the soil.
- Spacing: Space cloves about 6-8 inches apart in rows, with rows spaced 12 inches apart. Proper spacing allows each garlic bulb to receive adequate sunlight, nutrients, and moisture.
- Cover with Soil and Water: Once planted, cover the cloves with soil and water them thoroughly. This initial watering helps settle the soil around the cloves, promoting root establishment.
Mulching for Winter Protection
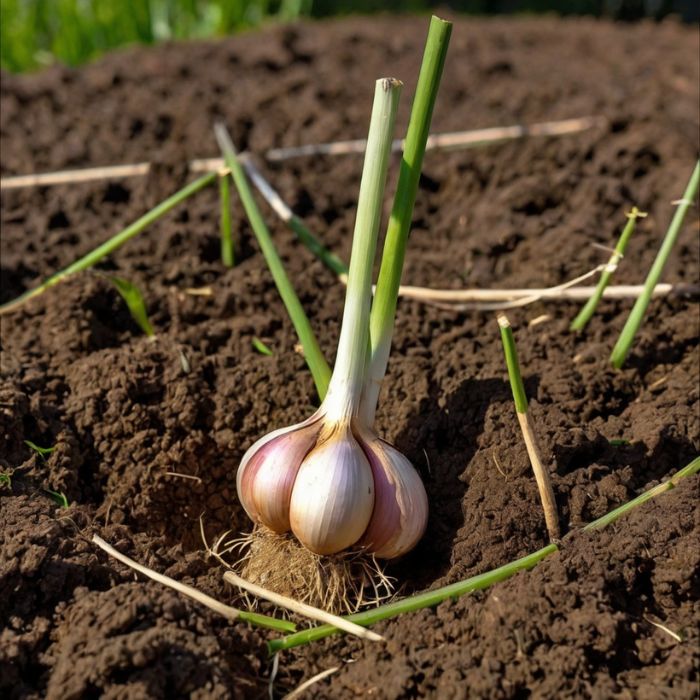
Applying a thick layer of mulch helps insulate the garlic from extreme temperature fluctuations. Use organic mulch, such as straw, shredded leaves, or grass clippings, to cover the garlic bed after planting. A 4-6 inch layer of mulch provides essential insulation, retains moisture, and suppresses weeds. As spring arrives, monitor the mulch layer and adjust it if necessary to allow garlic shoots to emerge Fall garlic planting method.
Caring for Garlic Throughout the Growing Season
Spring Care
- Remove Mulch Gradually: As the temperatures warm in early spring, gradually pull back the mulch layer to allow sunlight to reach the garlic shoots.
- Watering: Garlic needs consistent moisture throughout the growing season. Water deeply but infrequently, aiming to keep the soil moist but not waterlogged. Stop watering about two weeks before harvest to encourage bulb drying.
- Fertilizing: Fertilize the garlic in early spring with a nitrogen-rich fertilizer to promote strong growth. Consider side-dressing the plants with compost mid-season to ensure they have enough nutrients.
Managing Garlic Scapes
Hardneck garlic varieties produce scapes—flower stalks that appear in late spring to early summer. Removing scapes as they emerge helps redirect energy into bulb growth, resulting in larger garlic cloves. Cut the scapes when they are young and tender, as they are edible and can be used in cooking.
Harvesting and Curing Garlic for Maximum Flavor
When to Harvest
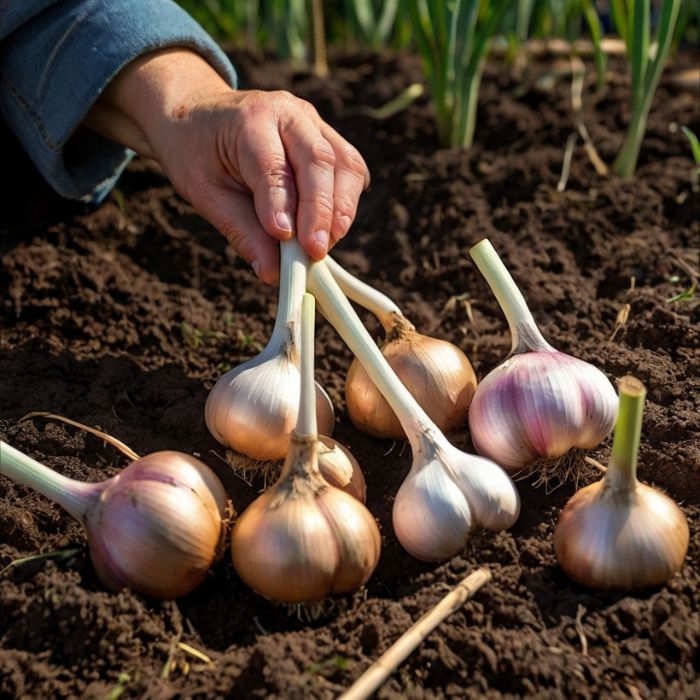
Garlic is typically ready for harvest in midsummer when about one-third of the leaves have turned yellow and started to die back. Harvesting at the right time ensures the garlic has reached its full flavor and size potential.
How to Harvest
- Loosen the Soil: Gently loosen the soil around each bulb using a garden fork or trowel to avoid damaging the garlic.
- Lift the Bulbs: Pull each garlic plant by the stalk, carefully lifting the bulbs from the soil.
Curing Garlic for Long-Term Storage
To cure garlic, hang the harvested bulbs in a warm, dry, and well-ventilated area for two to four weeks. Curing helps the garlic dry out, which improves its shelf life. After curing, trim the roots and stalks, leaving about an inch of the stalk intact, and store the garlic in a cool, dark place.
Common Issues in Growing Garlic and How to Avoid Them
- Pests: Garlic is generally pest-resistant, but onion maggots and nematodes can occasionally cause problems. Rotate crops annually and plant disease-free cloves to minimize pest issues.
- Diseases: Fungal diseases like white rot and downy mildew can impact garlic. To prevent disease, avoid planting garlic in the same spot each year, and ensure good air circulation around the plants.
- Nutrient Deficiencies: Yellowing leaves may indicate a nitrogen deficiency. Address this by applying a nitrogen-rich fertilizer in early spring.
Conclusion
Following Martha’s method of planting garlic in the fall will give your garlic a head start for a bountiful summer harvest. With proper preparation, attention to detail, and timely care, you’ll enjoy large, flavorful bulbs that enhance your cooking and provide lasting storage. Embrace the fall planting season and look forward to a harvest that rewards your efforts in the months to come. Cayenne Pepper Pest Control Your Garden? Expert Advice & Tips

